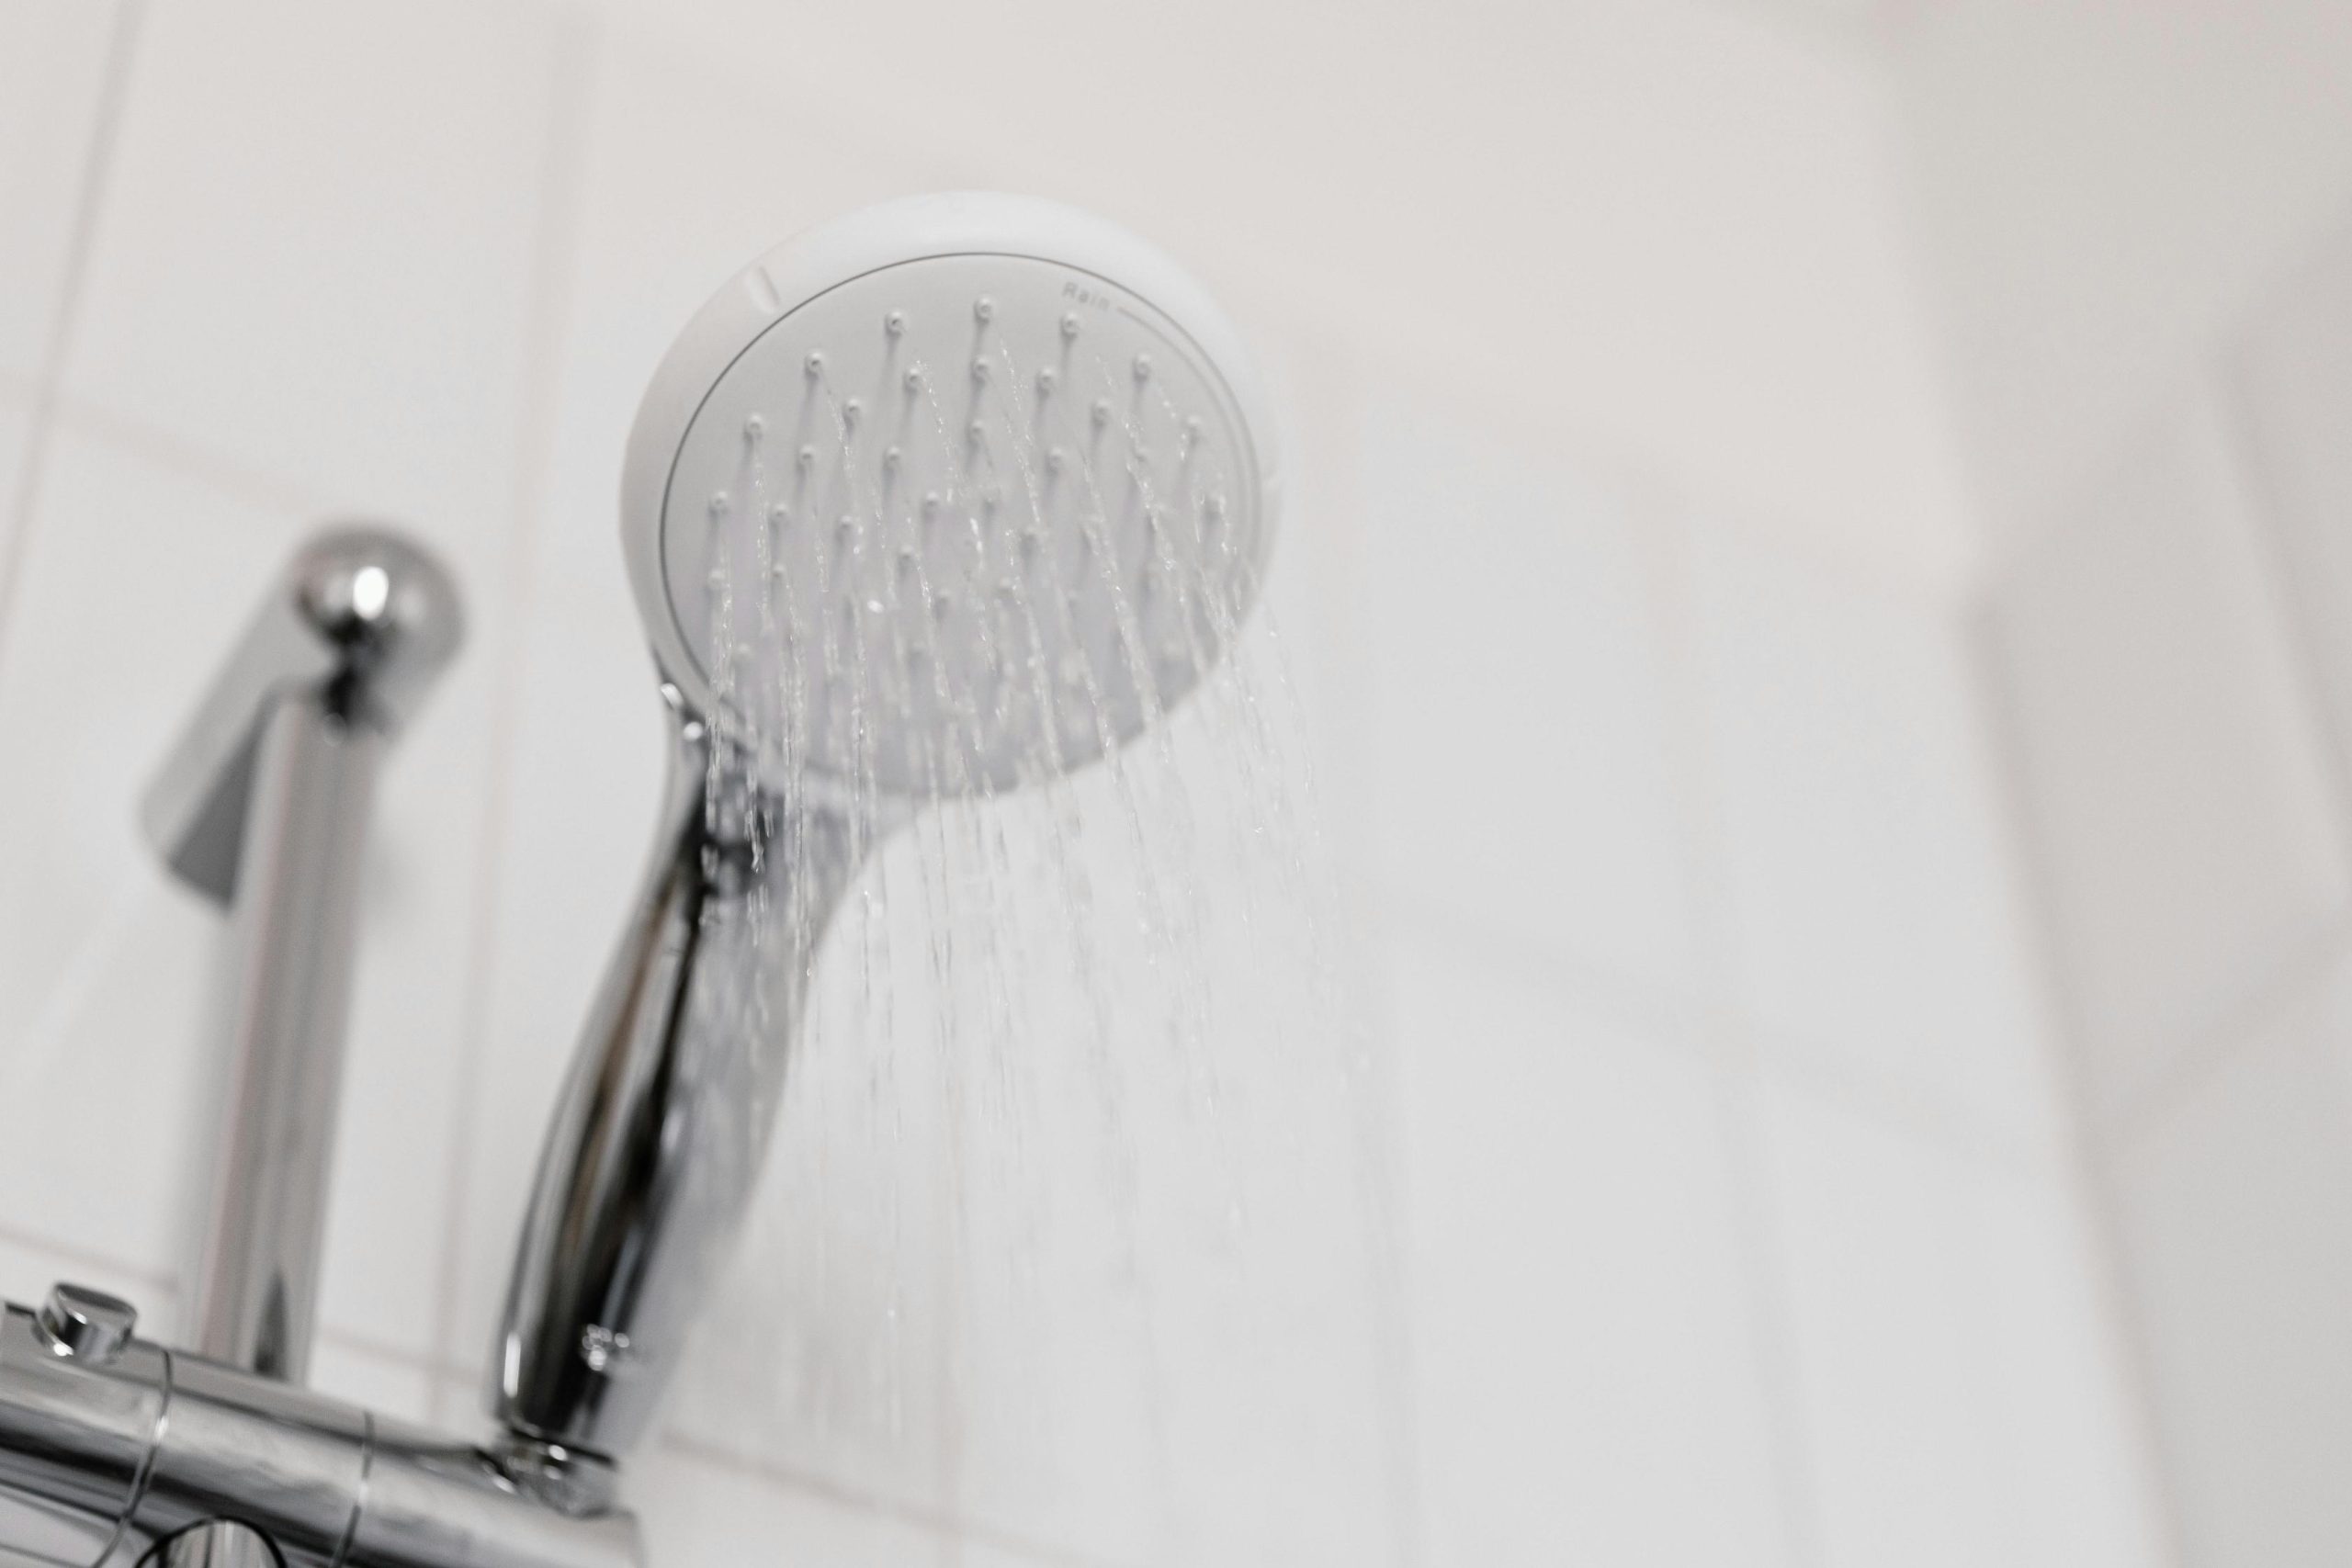
A leaking shower head is more than just an annoyance—it can waste water, increase your utility bill, and even cause damage to your bathroom if left unchecked. Understanding why your shower head is leaking and how to fix it can help you maintain an efficient bathroom setup without costly repairs. In this article, we’ll explore the common causes of shower head leaks, DIY solutions to fix them, and tips for preventing future leaks.
Why Is My Shower Head Leaking?
A leaky shower head can happen for many reasons. Here are some of the most common causes:
- Worn-Out Washers or O-Rings
The washer or O-ring inside your shower head may become worn out over time. These parts act as seals to prevent water from leaking, but when they degrade, leaks can develop. - Loose Connections
If the connection between the shower head and the shower arm isn’t tight, it can cause water to seep out, leading to a slow drip or spray. - Mineral Buildup
Hard water can cause mineral buildup on and around the shower head, which can clog the nozzles and lead to leaks. - High Water Pressure
Excessively high water pressure can put a strain on your plumbing system, causing leaks or even cracks in your shower head. - Faulty Cartridge
Some shower heads have a cartridge that controls the flow of water. If the cartridge is worn or damaged, it may cause a leak, even if the faucet is turned off. - Old or Damaged Shower Head
If your shower head is old, it may simply be time for a replacement. Over time, shower heads can develop cracks or damage that lead to leaks.
Step-by-Step Guide to Fixing a Leaking Shower Head
Step 1: Turn Off the Water Supply
Before attempting any repair, turn off the water supply to prevent water from spilling during the repair process. You may need to turn off the water supply to the entire bathroom or house if there’s no specific shut-off valve for the shower.
Step 2: Inspect for Loose Connections
Sometimes, the problem is as simple as a loose connection between the shower head and shower arm. Use a wrench to gently tighten the connection, but be careful not to overtighten, as this could damage the pipe or fittings. If the leak stops after tightening, then the issue may have been loose threading.
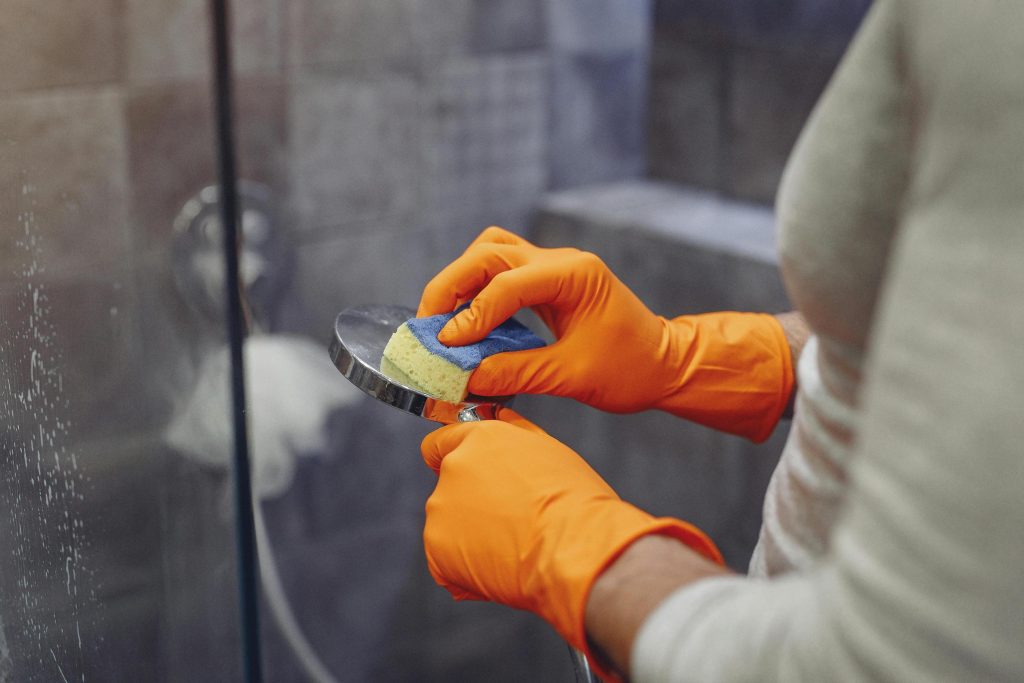
Step 3: Clean the Shower Head
Mineral deposits from hard water can clog the shower head and cause leaks. Here’s how to clean your shower head:
- Remove the Shower Head: Unscrew the shower head from the shower arm.
- Soak in Vinegar: Place the shower head in a bowl filled with white vinegar and let it soak for at least 30 minutes (or overnight for more stubborn buildup).
- Scrub and Rinse: Use a toothbrush to scrub away any remaining residue, rinse with water, and reattach the shower head.
Step 4: Replace the Washers or O-Rings
Worn washers or O-rings are common culprits for leaks, especially if the leak is coming from where the shower head connects to the pipe. Here’s how to replace them:
- Remove the Shower Head: Unscrew the shower head from the shower arm.
- Locate the Washer or O-Ring: Check inside the shower head where it connects to the arm.
- Replace with New Washers/O-Rings: Remove the worn washer or O-ring and replace it with a new one of the same size. You can find these parts at most hardware stores.
Step 5: Inspect and Replace the Cartridge (if necessary)
For showers with a cartridge that controls the flow of water, a damaged cartridge may be the source of the leak. Here’s how to replace it:
- Turn Off the Water Supply: Ensure the water is turned off before disassembling the faucet.
- Remove the Faucet Handle: Use a screwdriver to remove the faucet handle.
- Locate the Cartridge: Depending on the model, the cartridge may be secured with a clip or screw.
- Replace the Cartridge: Remove the old cartridge and install a new one according to the manufacturer’s instructions. Reassemble the faucet and test for leaks.
Step 6: Apply Plumber’s Tape
If leaks persist around the threads where the shower head connects to the shower arm, apply plumber’s tape (Teflon tape) to the threads. Wrap it a few times around the shower arm threads before reattaching the shower head. This helps create a tight, waterproof seal.
Troubleshooting Common Shower Head Leak Issues
Here are some common leak issues and how to troubleshoot them:
- Leak When Shower is Off: This could indicate a worn-out cartridge or valve that’s not properly stopping the flow of water. Replacing the cartridge or valve should resolve the problem.
- Leak From the Shower Head Face: If water drips from the shower head face even when the shower is off, mineral buildup or a worn-out washer could be the issue.
- Leak from Behind the Shower Head: This is often due to a loose connection or damaged plumber’s tape on the shower arm threads.
Preventing Future Leaks in Your Shower Head

Once you’ve fixed the current issue, there are steps you can take to prevent future leaks:
1. Regularly Clean the Shower Head
Mineral buildup is a common cause of leaks and reduced water flow. Regularly clean your shower head with vinegar to prevent buildup. Soak the head in vinegar for 30 minutes to an hour every few months to keep it clean.
2. Check Water Pressure
High water pressure can cause leaks and damage to your plumbing over time. Invest in a water pressure gauge (available at hardware stores) to check your home’s water pressure. Ideally, it should be between 40-60 PSI. If it’s consistently higher, consider installing a pressure regulator.
3. Replace Washers or O-Rings Periodically
Rubber washers and O-rings wear out over time. Replacing them every few years can help prevent leaks. If you notice any stiffness or signs of cracking, it’s a good indication that it’s time to replace these parts.
4. Inspect Connections
Occasionally check the connections on your shower head and shower arm. Make sure they are tight but not overtightened. Applying plumber’s tape to the threads can help maintain a secure seal.
When to Call a Professional
If you’ve tried the DIY fixes above and your shower head is still leaking, it might be time to call in a plumber. Professional help may be needed if:
- The leak persists even after you’ve replaced washers, O-rings, or the cartridge.
- You suspect that the leak is due to a more complex plumbing issue, such as a broken pipe or valve.
- You’re uncomfortable handling plumbing repairs or disassembling components.
Choosing a New Shower Head: Budget-Friendly Options
Sometimes, it may be more cost-effective to replace an old shower head entirely. Here are some affordable shower head options to consider:
- Single-Function Shower Head: These shower heads provide a steady stream and are easy to install. They’re also very budget-friendly.
- Multi-Function Shower Head: Offers various settings, like massage, mist, and rainfall. This option can be inexpensive and still provides a customized shower experience.
- Handheld Shower Head: A versatile choice, handheld shower heads are great for cleaning the shower and for use in households with children or pets.
- Low-Flow Shower Head: These are designed to conserve water without compromising pressure, making them an eco-friendly choice.
When installing a new shower head, remember to use plumber’s tape on the threads and avoid overtightening.
FAQ: Common Questions About Shower Head Leaks
Q1: How Much Water Does a Dripping Shower Head Waste?
A dripping shower head can waste up to 500 gallons of water per year, depending on the rate of dripping. Fixing leaks promptly can save water and reduce your utility bill.
Q2: Can I Use Regular Tape Instead of Plumber’s Tape?
No, regular tape won’t provide a waterproof seal. Plumber’s tape (Teflon tape) is specially designed for plumbing connections to prevent leaks.
Q3: How Often Should I Replace My Shower Head?
Typically, shower heads last between 5-10 years, depending on usage and water quality. Replacing it every 6-8 years can help avoid leaks and improve your shower experience.
Q4: Are All Shower Head Cartridges the Same?
No, cartridges vary depending on the make and model of your shower. When replacing a cartridge, make sure to get the right type for your specific shower fixture.
Conclusion
A leaking shower head doesn’t have to be a hassle if you know the cause and how to fix it. From tightening connections to replacing worn-out parts, many leaks can be resolved with a little DIY effort. Regular maintenance, including cleaning and inspecting your shower head, can help prevent leaks from recurring. By addressing leaks early and performing routine care, you can enjoy a functional, efficient shower for years to come.
